
Drupal makes it so easy to add image fields to your content types. Fields in core for the win! With image styles in core, its as easy as ever to create multiple image sizes for display in various contexts (thumbnails, full, etc.). But what about providing hi-resolution versions of your rasterized images for retina displays? Out of the box, you don’t really have a lot of good options. You could simply upload high resolution versions and force your users, regardless of display type to download massive file versions, but that’s not exactly the best for performance. You could use some custom field theming and roll your own implementation of the picture element, but browser support is basically null at this point. That won’t do. You could do what Apple does and force the browser to download 1x versions of your images then use JavaScript to detect high resolution displays and then force the browser to download all of the high resolution versions…I think you see my point.
What if you could create hi-resolution versions of these images without a ton of added filesize overhead? What if you could do this all within Drupal? No special coding, no uploading of multiple versions, no special field templates or unnecessary JavaScript. Just a basic Drupal image field with a special image style defined.
Here’s how you do it:
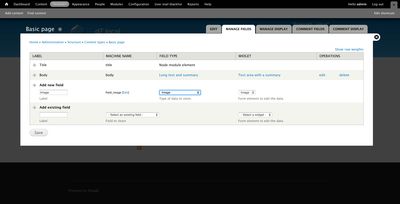
- Create your image field. (In most cases, you’ve probably already got this.)
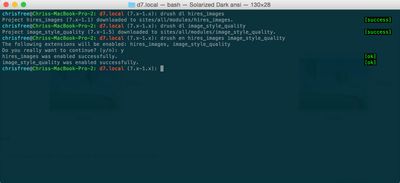
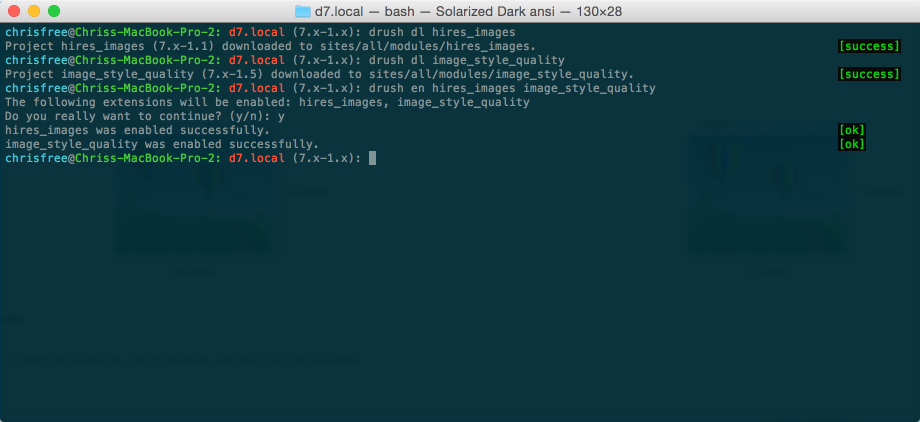
- Download and install the HiRes Images module This module allows you to create an image style at 2x the desired pixel dimensions. If your desired maximum image width is 720 css pixels, your output image would be saved at 1440px.
- Download and install the Image Style Quality module This nifty module allows you to define specific image qualities on a per image style basis instead of using Drupal’s global image quality setting.
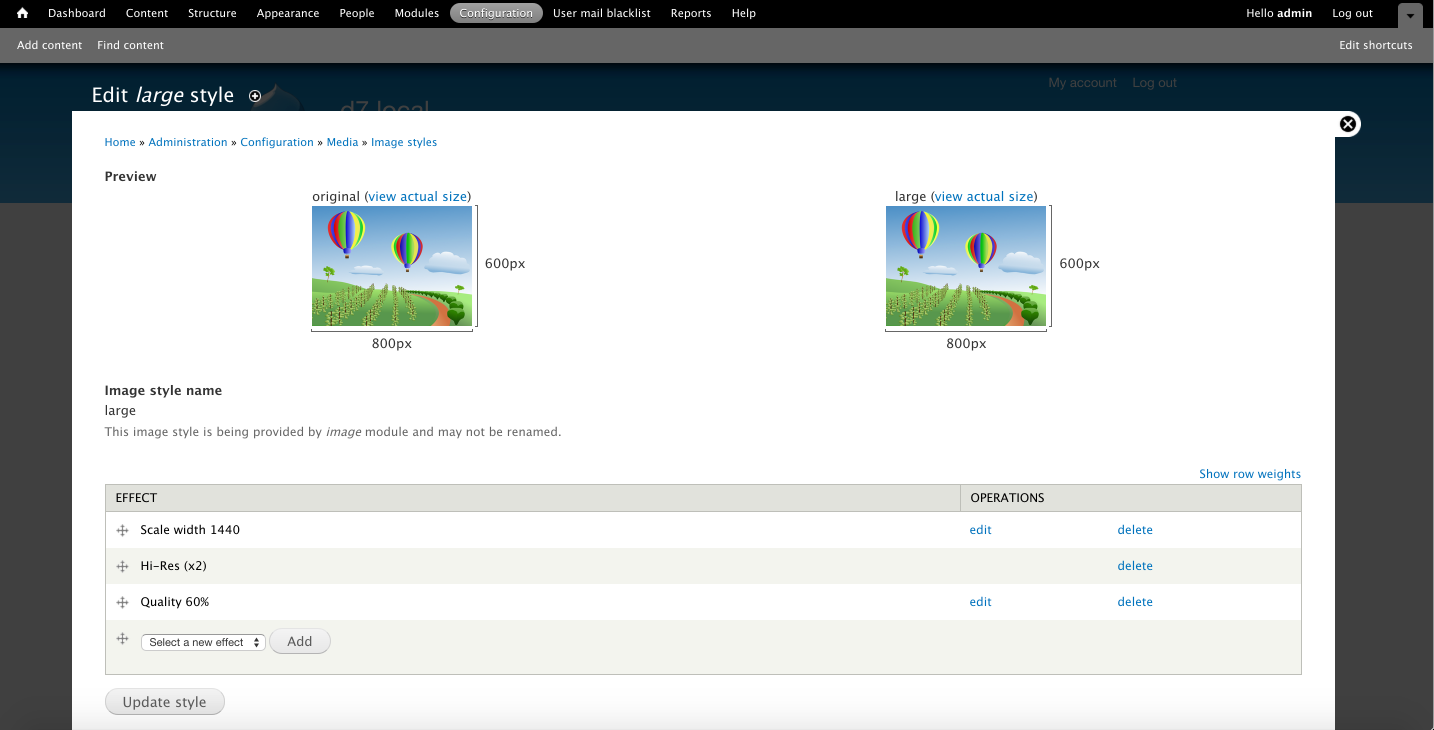
- Add a new image style (or alter an existing)
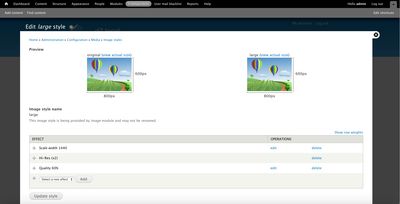
- Add your normal image style presets, like scale, crop etc. If you’re scaling, set your scale to be 2x your desired maximum output in pixels. So if you want an output of 720, set your scale to 1440px.
- Add the “Hi-Res (x2)”" effect. This will output your image element at half the scale amount above. So we get a max of 720px.
- Add the “Quality” effect and set it to something like 60%. This may take some experimenting to find a balance between image quality and file size. In my example, I went with 60% compression. This yielded an image that was still really sharp and a reasonable file size.
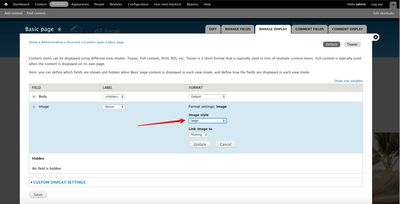
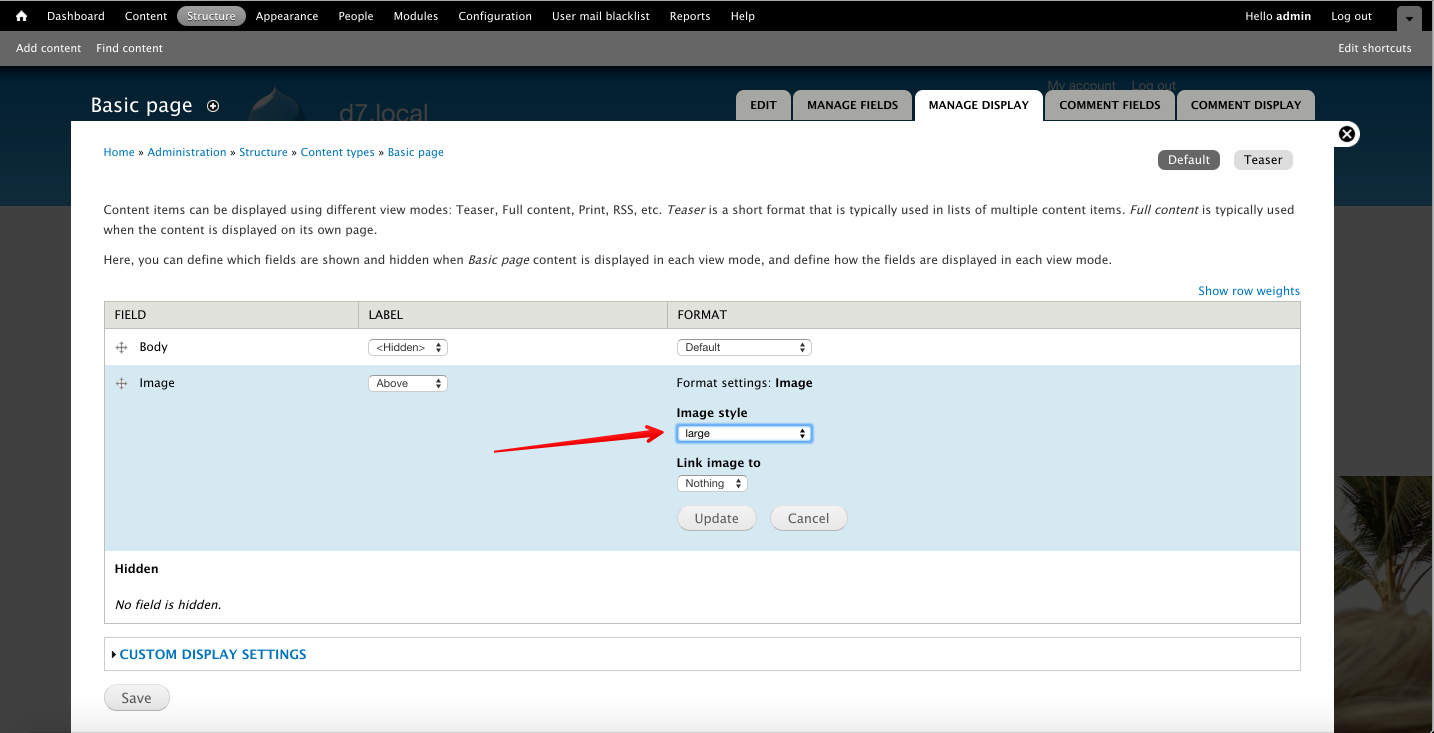
- Set your display mode to use this new (or altered) image style.
- Enjoy your beautiful, high resolution, performant image fields!

Hard to believe this works right? You’d think your retina version would look really crappy with that much compression, but it doesn’t. In fact, in some cases it will look just as sharp and be smaller than a 1x counterpart. See my screenshots below for proof:
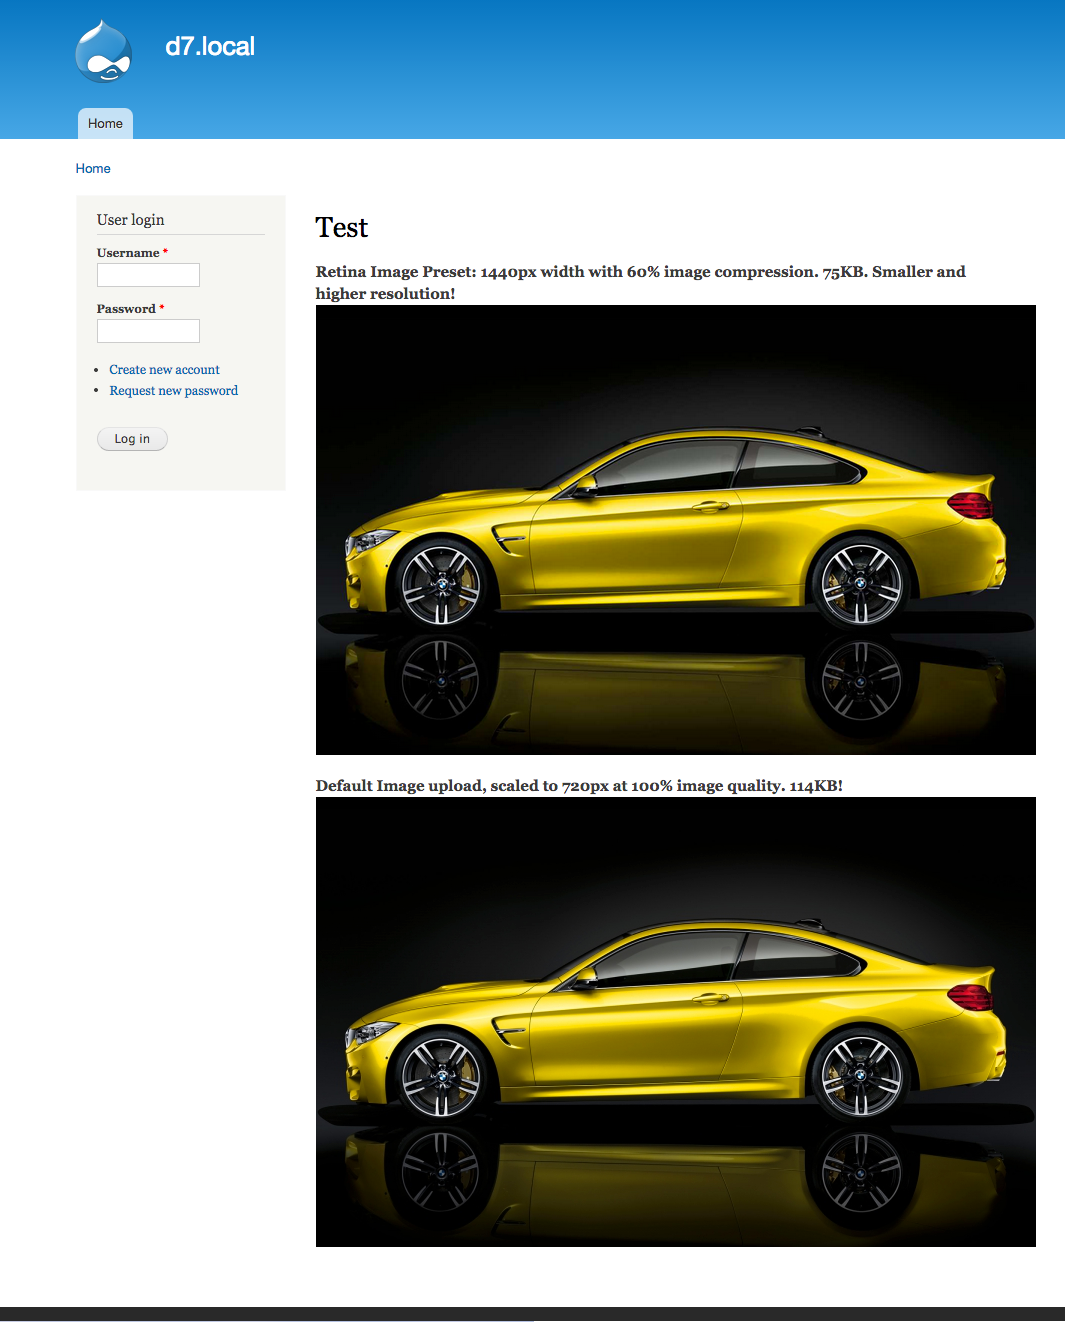
Side-by-side comparison:
Network panel output:
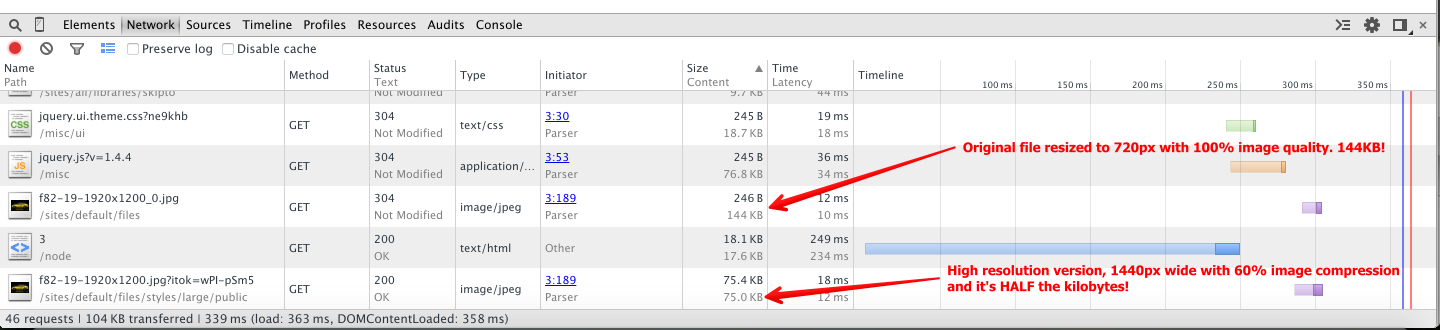
So we end up with a high resolution version of our uploaded image that is actually smaller than the original version at 720px! Looks great on retina devices and doesn’t badly penalize users of standard definition displays. WIN!
For a detailed explanation of this technique in broader terms, see Retina Revolution by Daan Jobsis.
Roadmap Your Drupal 7 Transition
We’re offering free 45 minute working sessions to help you assess your organizations level of risk, roadmap your transition plan, and identify viable options!
Drop us a note, and we’ll reach out to schedule a time.

